|
|
||||||||||||||||||||||||||||||||||||||||||||||||||||||||||||||||||||||||||||||||||||||||||||||||||||||||||||||||||||||||||||||||||||||||||||||||||||||||||||||||||||||||||||||||||||||||||||||||||||||||||||||||||||||
|
||||||||||||||||||||||||||||||||||||||||||||||||||||||||||||||||||||||||||||||||||||||||||||||||||||||||||||||||||||||||||||||||||||||||||||||||||||||||||||||||||||||||||||||||||||||||||||||||||||||||||||||||||||||
|
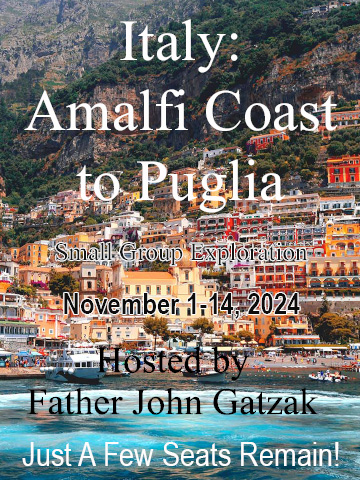
Italy: Amalfi Coast to Puglia Small Group
Exploration - maximum of 24 travelers Hosted by Father John Gatzak Want to learn more about this exciting tour scheduled for November 2024? Then watch our recorded Zoom travel presentation conducted by Collette Tours on Thursday, March 7, 2024, just click the button below. For more information, trip details or to Book Now go to
https://gateway.gocollette.com/link/1210331
or call 203.805.5036 or view the
tour flyer
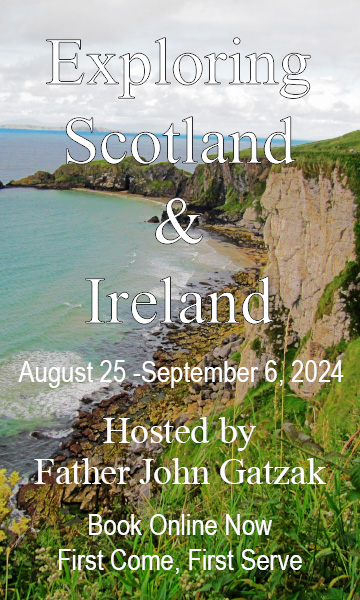
Exploring Scotland & Ireland Edinburgh,
Edinburgh Castle, St. Andrews, Loch Ness Cruise, Urquhart
Castle, Highland Evening, Glasgow, Belfast, Titanic Experience,
Giant's Causeway, The Causeway Coast Rail Journey, Derry, Cider
Farm Tour, Dublin Hosted by Father John Gatzak Want to learn more about this exciting tour scheduled for August 2024, then watch our recorded Zoom travel presentation conducted by Collette Tours on Monday, February 12, 2024, just click the button below. For more information, trip details or to Book Now go to
https://gateway.gocollette.com/link/1194043
or call 203.805.5036 or view the
tour flyer
|
||||||||||||||||||||||||||||||||||||||||||||||||||||||||||||||||||||||||||||||||||||||||||||||||||||||||||||||||||||||||||||||||||||||||||||||||||||||||||||||||||||||||||||||||||||||||||||||||||||||||||||||||||||||
 |
||||||||||||||||||||||||||||||||||||||||||||||||||||||||||||||||||||||||||||||||||||||||||||||||||||||||||||||||||||||||||||||||||||||||||||||||||||||||||||||||||||||||||||||||||||||||||||||||||||||||||||||||||||||

|
Ukrainian Easter EggsEaster eggs decorated with intricate and colorful designs have been a Ukrainian art form for centuries. The tools and techniques demonstrated here can be used to produce traditional Ukrainian motifs or your own improvisations. In either case the basic principle is simple: using the equipment shown below, a raw white egg is dipped into successively darker colors of dye, while areas to be protected against a dye at any stage are covered with beeswax. Click on any image below to enlarge it for greater detail.
|

There’s hope and healing to be found after an abortion at Rachel’s Vineyard.
For more information on the organization, contact Marie at 203-631-9030, email her at mlaffin@prolifeministry.org,
or visit www.rachelsvineyard.org.
If the Vatican Widget should not appear above,
please click this link https://www.vaticannews.va/en.html.
|
||||||||||||||||||||||||||||||||||||||||||||||||||||||||||||||||||||||||||||||||||||||||||||||||||||||||||||||||||||||||||||||||||||||||||||||||||||||||||||||||||||||||||||||||||||||||||||||||||||||||||||||||||||


|
|
ORTV, Inc.
Telephones: (860) 242-8800 in the Hartford area • (203) 758-7367 in the Waterbury/New Haven area Bringing Good News To Life® since 1953 Bringing Good News to Life®, WJMJ® and Where Faith Meets Life® are registered trademarks and/or service marks of ORTV, Inc. Cookies Policy Legal Privacy Policy WJMJ Public Inspection File WJMJ Public File HelpContents of this website and all original works are copyright ©2024 by ORTV, Inc. or by the original creator of the material. All rights reserved. The material on this website may not be reproduced, copied, broadcast, downloaded, stored (in any medium), transmitted, shown or played in public, adapted or changed in any way whatsoever without the prior written permission of the copyright owner. Please see our Copyright notice for complete details. |
|
|
|